Photoshop Tips and Tricks #1: Patterned Cloth
If you liked that entry, you’ll like this one even better… because in this one I give up (almost) all of my secrets on how to make repeating pixel patterns into realistic-looking images of patterned cloth. I like to play around in Photoshop and stumble onto techniques like this myself, but to give credit where it is due, I was mostly inspired by this Wacom tutorial.
First, let’s select a pattern and add it to our Photoshop arsenal. I chose Roland’s background_05.gif pattern (found here), which looks like the following image, when rendered:
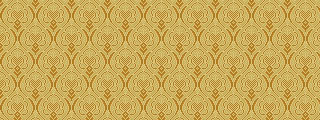
…but you can select (or make) any other pattern to your taste, so long as it can seamlessly tile. K10K and Squidfingers are great resources.
Open the basic pixel pattern file in Photoshop, select the entire canvas (Ctrl-A for PC, Command-A for Mac) and from the toolbar click on Edit > Define Pattern, like so:
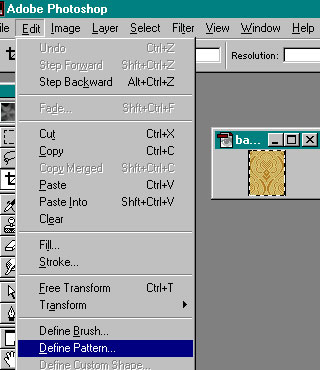
Click Okay to add the pattern to Photoshop’s menu of patterns.
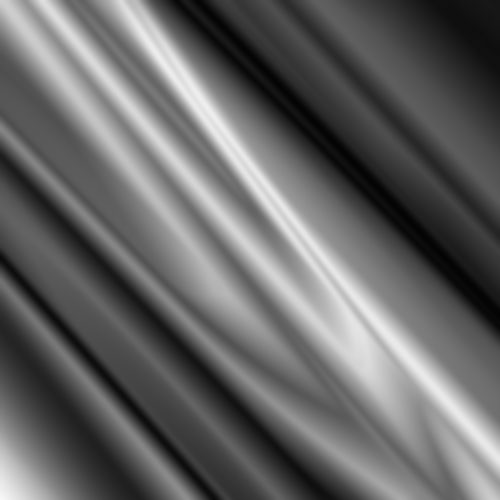
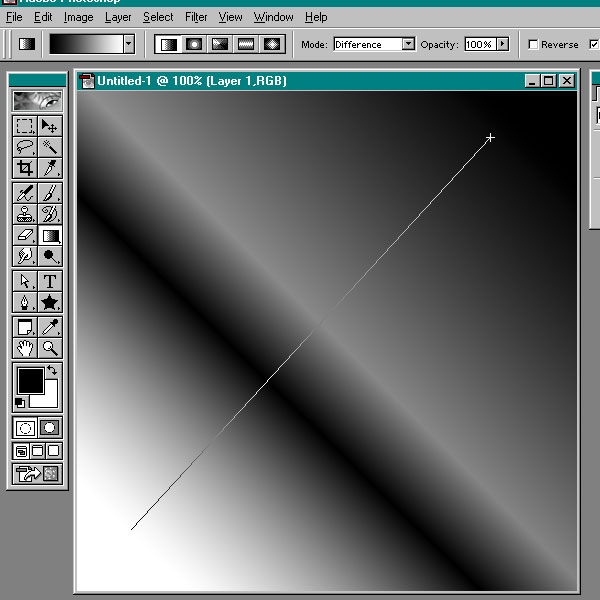
Next, let’s create a quick displacement map; you’ll see why in a few steps or so. The following two images are of the displacement map I made and how I made it (essentially by using the Gradient tool set to Difference and running it back and forth, over and over again, across the canvas). You can, however, use any black and white image you like—a digital photo of cloth folds, for instance. Then save it as a .psd file.
Now to the fun part of the process… Create a new file that is the same size as your displacement map and fill the entire canvas with the pattern you defined earlier. If that directive makes absolutely no sense to you, here’s a screenshot illustrating how to select your pattern for use with the Paint Bucket tool:

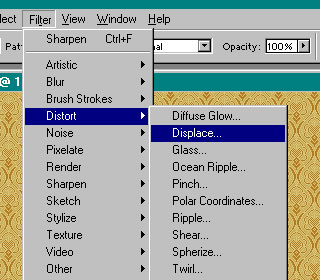
Next, click on Filter and select Distort > Displace…
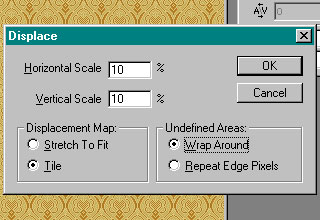
Be sure to set Undefined Areas to Wrap Around, like so:
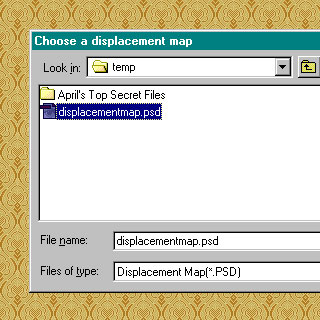
And select the displacement map you made earlier, like so:
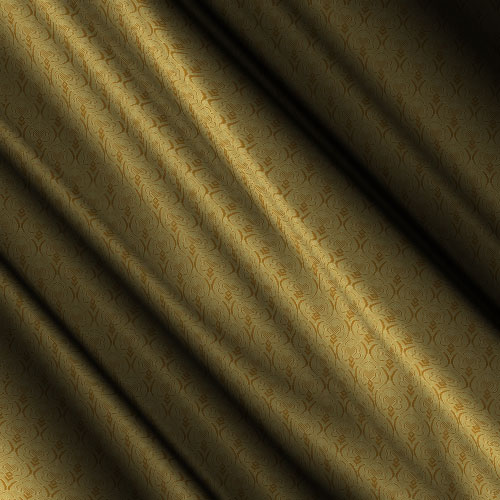
The result is nowhere near the look of cloth yet. It simply looks like the original pattern is on drugs. But stay with me a little here. Open up the same displacement map that you just used, select the entire canvas (Ctrl-A/Command-A), copy it (Ctrl-C/Command-C), paste it (Ctrl-V/Command-V) as a new layer above the distorted pattern, and set the layer to Multiply… like so:
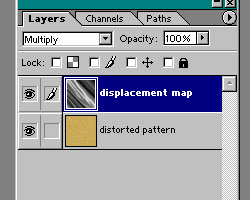
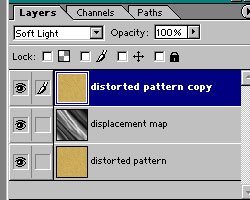
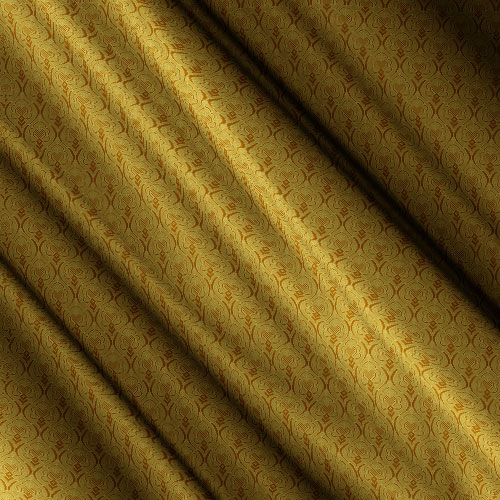
The result is better looking but a little dark. To bring vibrancy back to the colors, make a copy of the distorted pattern layer above the displacement map layer and set it to Soft Light. The Layers palette should then look something like this:
You should by now have a beautiful piece of cloth that is the envy of all your friends, and if you’re a compulsive Photoshop-aholic like me, feel free to do a bit of touching up along the highlights. The piece of cloth will look so realistic, people will wonder if it’s a photo.
Here is my final image:
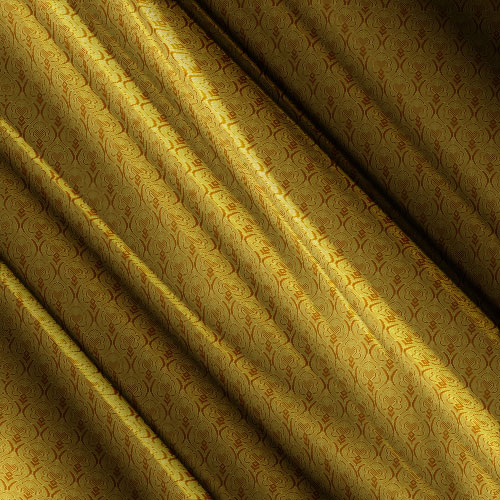
Okay,… now show me yours.
Share this post:
7 thoughts on “Photoshop Tips and Tricks #1: Patterned Cloth”
lol, you have now created a monster! I did 7 patterns!
I’ll email you the best two out of those. Thanks for the tips, Queen April. 😀
Minnie, you are always welcome, and your fabrics rocked. 🙂
I used several different (but similar) methods to acomplish the same result, but yours is wonderful. Thank you for sharing!
Absolutely one of the most valuable tutorials I have ever seen. I can’t thank you enough for donating this pearl of talent/wisdom to us.
Shit April u are amazing
Very helpful, thanks for sharing your technique, it’s really appreciated ; )
O_o
Comments are closed.